Showing posts with label Charms. Show all posts

Thursday, December 15, 2011

Tag Team

I have busy working on Christmas art - cards and tags, specifically! The cards are almost done and I am in desperate need to gift tags (especially since I need to get several packages in the mail!) I guess you can figure out what I will be doing today!
Earlier this week, a couple of my friends and I had our annual Christmas lunch and gift exchange. We call it "Christmakkah" - it was so christened many years before the TV show (The OC?) ever used it. I made a couple of tags early for Nancy and Tracy.
For this tag, I gathered together some small Christmas images and made my own Holiday collage. The background was colored with Distress Inks. The little charm is actually a green plastic disc game piece. The mini tree was stamped, the disc glued to the image and the then trimmed. I added foil tape around the edges. With all the fervor over Tim tags and his collage background, I thought I would make my own and save a few bucks! The greeting was stamped on a die cut ticket.

Monday, May 23, 2011

Squirrely Challenge

Well, I am posting a bit later than normal. The Club Scrap Die Cut Blog Hop and real life have taken up some of my time. Last week's challenge was from October 2010 Technique Junkies newsletter - Cute Cuts. I used the Cuttle Bug Happy Birthday embossing folder with Club Scrap's Welcome kit.
I think a more simple folder would have been better.

Friday, May 13, 2011

Button Fairies

A few of West Coast Scrappers have been playing around with making button fairies. I stamped up a body and made the "tail" a couple of weeks ago. I recently had time to complete it.
This is a great technique to use up all those buttons we tend to accumulate. I purged my buttons last year, but saved a few of the bigger ones for a project. They worked perfectly. I added a teapot charm to the bottom.

This came together pretty quickly and easily. I think you could make a variety of sizes, depending upon your stash of buttons.

Sunday, April 17, 2011

A Little Keepsake...

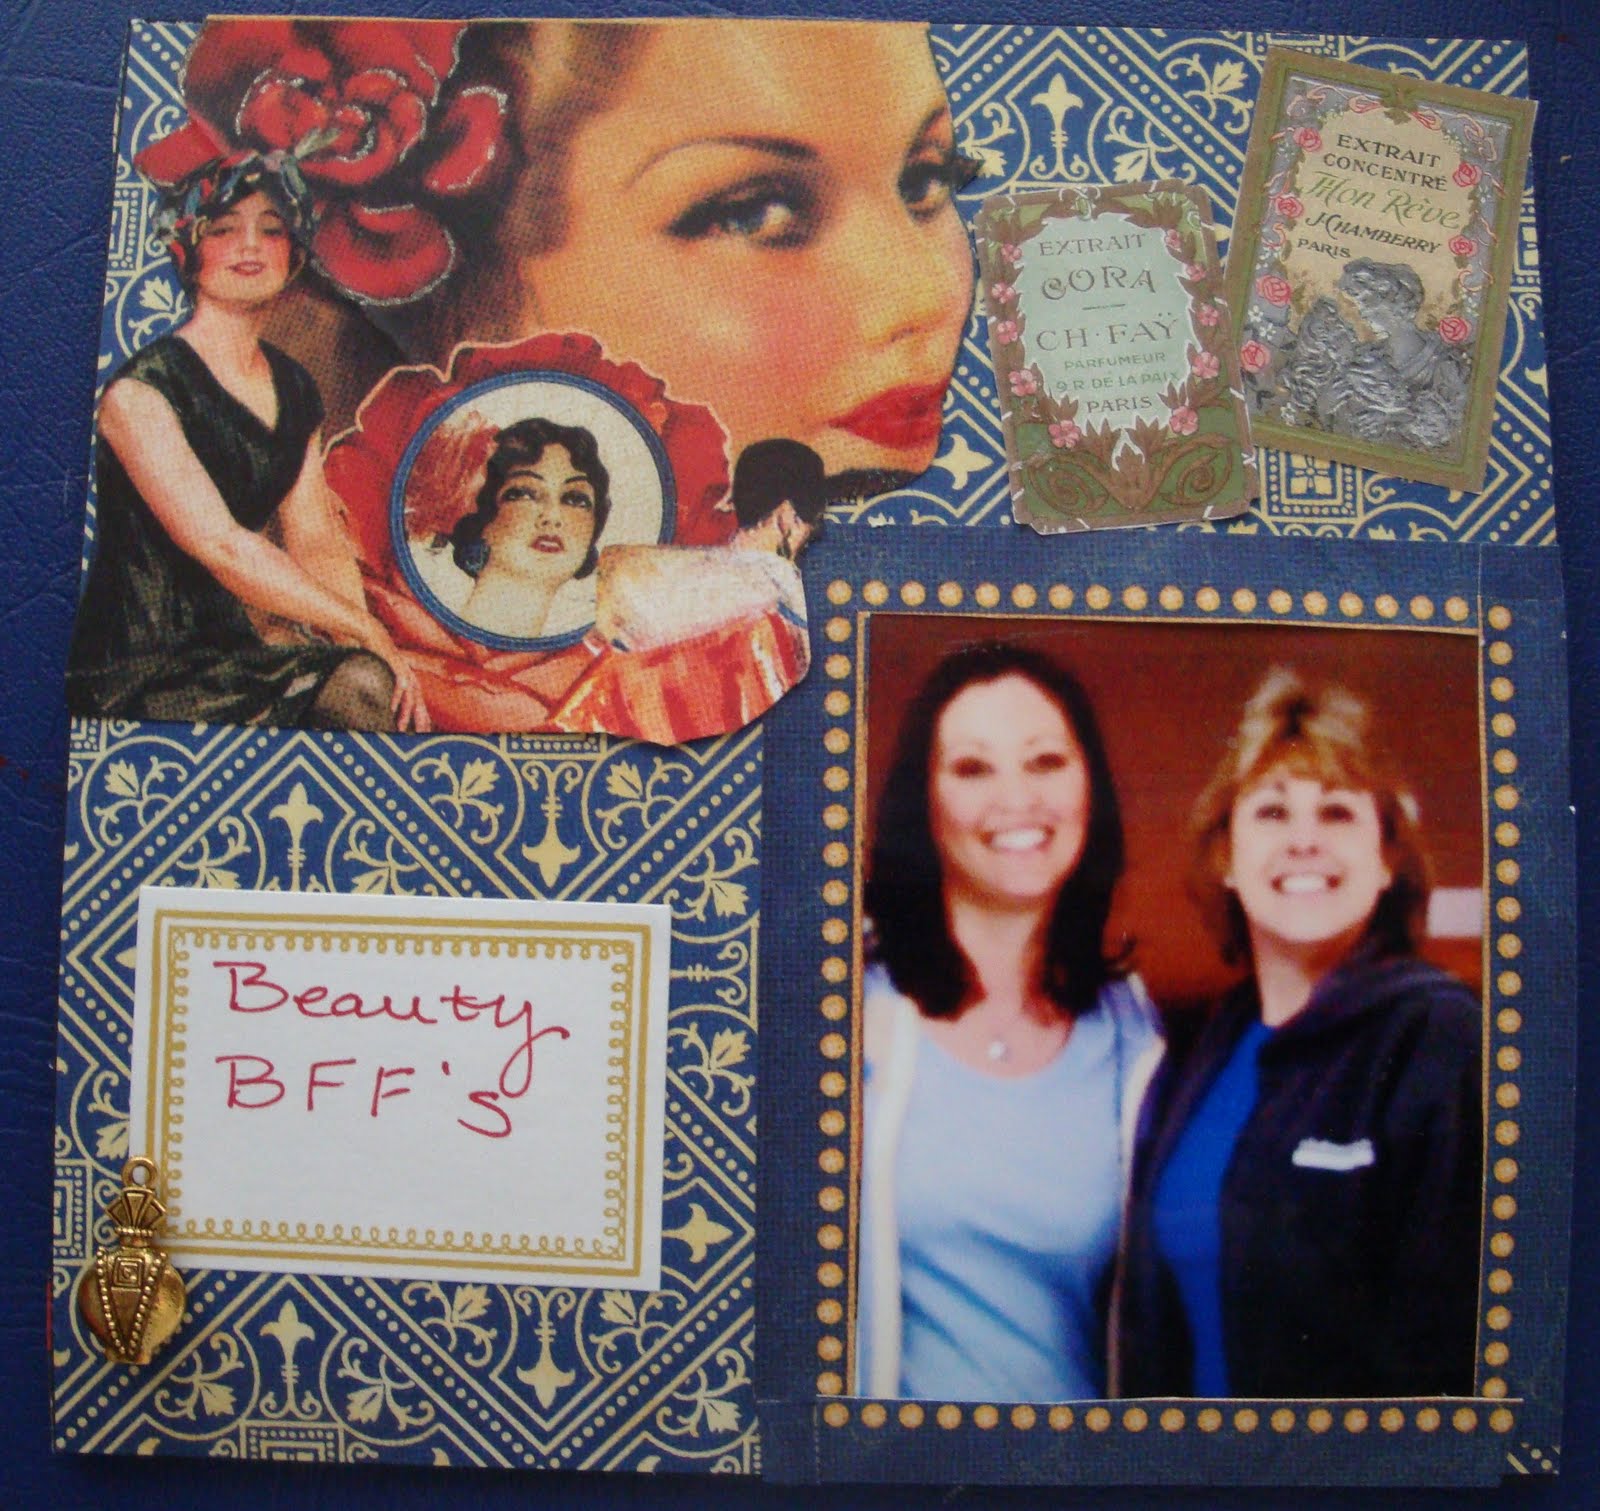
So, the picture isn't that great (taken with a cell phone and fuzzy). But, it was a fun remembrance page to create for my "Beauty Best Friend", Sonja. She'll be moving to St Louis to be near family.

I do not often show usage of patterned paper. But, this is one of (if not my) favorite manufacturers, Graphic 45. I used the reverse of an image sheet as the diamond motif background. The female images were from a companion page in the line. I added a bit of glitter and Glaze pen as accents. I have a lot of ephemera (that I need to use more frequently), thus the addition of the vintage labels.  It is a fun combination of vintage looks!

Thursday, January 13, 2011

Mini Book

Before heading to So California, I did get a quick project done.  After making a Club Scrap mini book project, I thought the concept would be easy to adapt to other sizes. I had a 12 Days of Christmas set stamped up and laying around, and thought why not try to make it into a book. The above photo is of one of the inside pages.  The base of the book and its pages are Club Scrap card stock. The pattern is from an older Cosmo Cricket Christmas set. The 12 Days postage is an old All Night Media stamp kit.
I used a few beads and number charms to embellish the linen thread. The chip board numbers were colored with Smooch ink. I then put a thick coat of Glossy Crackle Accents (Ranger) and smudged in some sepia paint in the cracks (it actually looks better in person - I would use this technique again!). Although I am not a 100% pleased with the outcome (I do not like the proportions and I would change up the page backgrounds) - I will display this book with my 12 Days... collection.

Sunday, June 13, 2010

New Technique

I had several graduation cards to make last week. And, I was getting a little bored making basic layered cards. So, I pulled out the latest Technique Junkies Newsletter (www.techniquejunkies.com) and looked at trying a new technique. The above card, specifically the inked stripe and dot background, was created using the Antiqued Wallpaper Tutorial.

The background was embossed with an embossing folder and inked with distressed inks. Spritz the cardstock with water and flatten the embossing. I also added more ink. Head over to the Technique Junkies website for more wonderful ideas. All cardstock and ribbon are Club Scrap (of course) and the stamp is from Stampin' Up. I also added a little diploma charm for fun.