Showing posts with label paint. Show all posts

Thursday, June 7, 2012

Spray Paint part 2

Yesterday, I posted a spray paint project my friend,Nancy, and I did. I was letting the finished projects dry an extra day before using them. The back of the desktop organizer:
The same object - side view:
And, the completed view of the organizer as it will sit on my desk:
I added polka dot Washi tape to the front and along the edges of the compartments. The completed plastic tumbler that I use for miscellaneous storage:
The top band is actually painted red, while the dotted pattern is painted black. You could also add stamping or collage if you do a project like this. I liked the graphic urban design feel of the paint without any more decoration.

Wednesday, June 6, 2012

Spray Paint!

No, I have not been out tagging public property! Maryjo McGraw posted a project involving decorating plain plastic items. Nancy and I are followers of Maryjo's "secret blog", and decided we would try the spray painting project. Since we knew we would not do this on our own, we met at my house with items, cans of paint and stencils.
First, I sprayed a clear desktop sorter with white spray paint. I did 2 light coats. I also sprayed a plastic tumbler that I use for water for paint brushes.
I really love this stencil and thought I would use it on my plastic pieces. Using painter's tape and newspaper, I masked off the portions I did not want to stencil. I used a red "stained glass" effect spray paint that Nancy brought over. I used the same stencil and paint color on my tumbler.
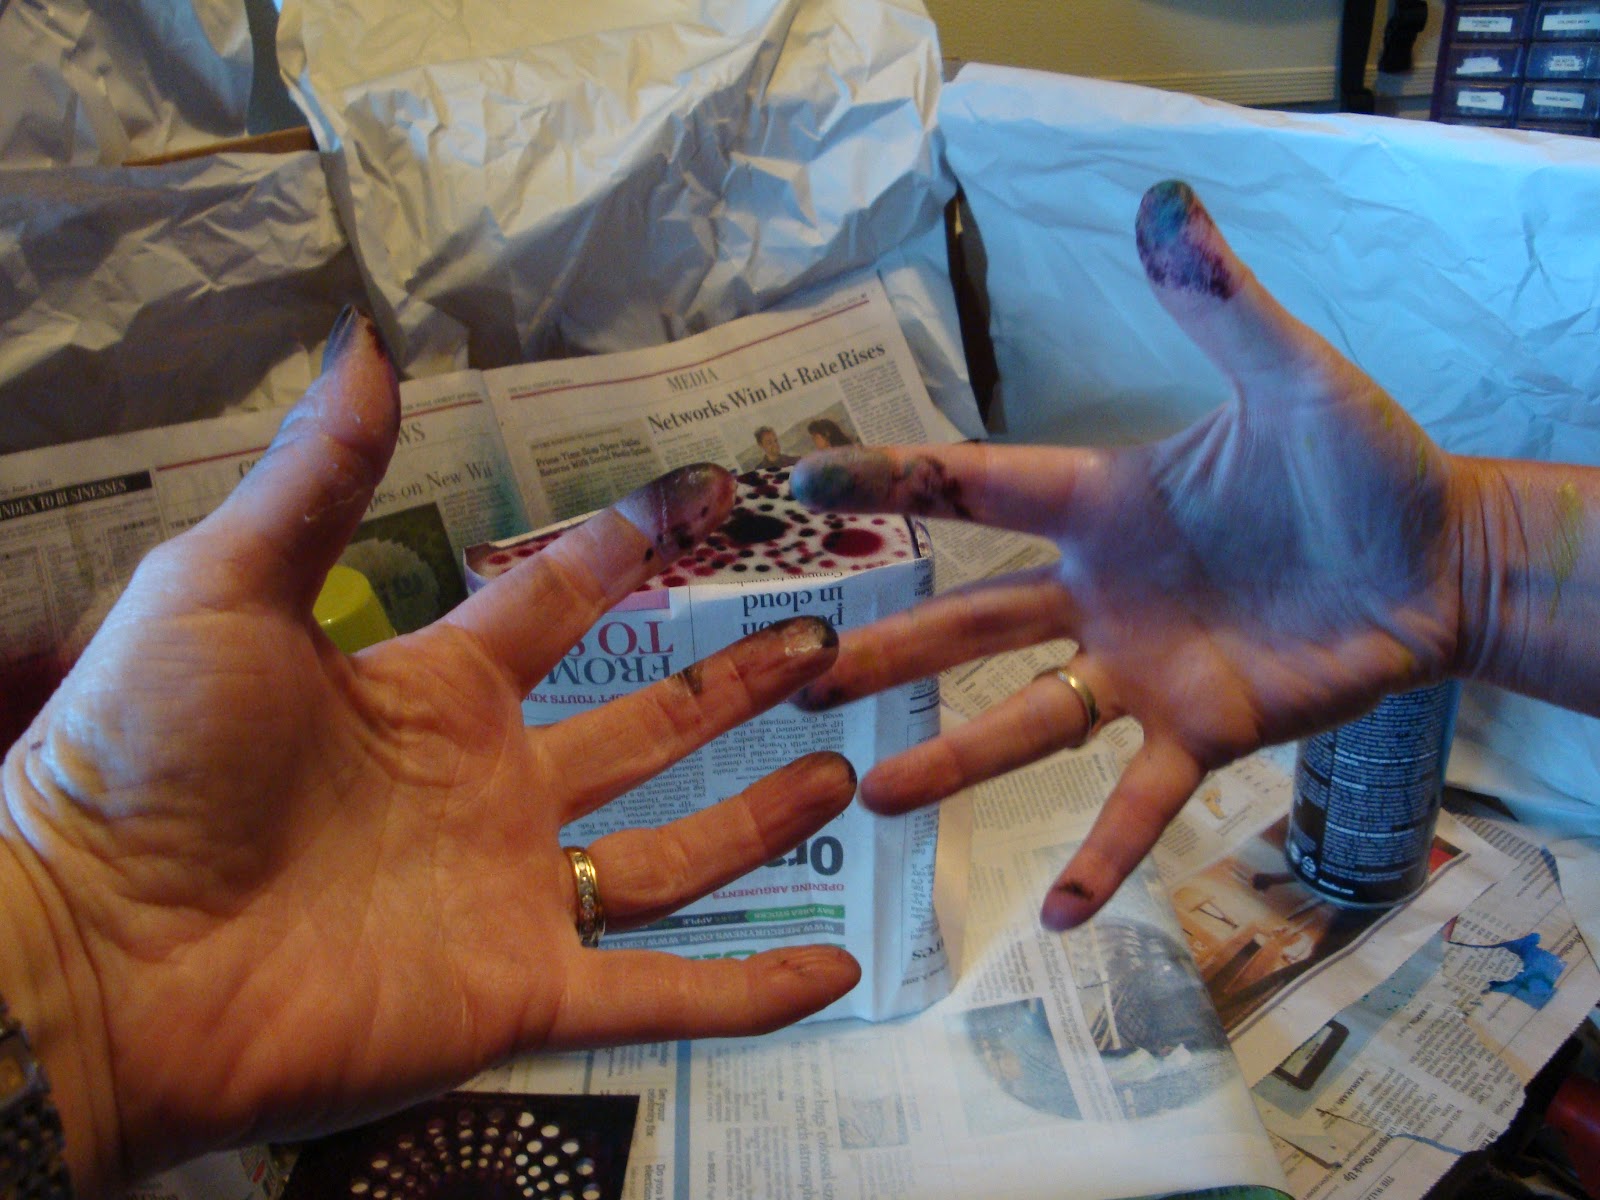
I added a few sprays of black paint as well. The photo above captures our home made spray booth and materials we used. My desk sorter is standing on end after being sprayed.
Note to self - next time wear gloves! The angle of the photo makes my hand look enormous next to Nancy's! For photos of Nancy's project: Squirrely Art. She may be posting her projects in the next day or so. For information on Maryjo McGraw and her secret blog:MaryjoMcGraw.blogspot.com.

Tuesday, May 22, 2012

Tuesday's Tip

Get more from your tools by using them in on-traditional ways. I love using stencils on a variety of projects, In addition to using them with inks, sprays, paints, Gelatos etc, I like to stamp through them. It adds a little extra texture to your image or background!

Friday, May 11, 2012

In The Neighborhood

I completed a double page spread for my journal exchange. I thought I would use the background I made with paint and plastic wrap, adding some new purchases. It is a bit less busy in person as the pen work did not photograph well. I used one of the new Hero Arts stamps (large house) and paired with Basic Grey's Out of Print paper. I used the On The Edge houses from Tim Holtz/Sizzix to die cut the patterned paper. A few stickers and punched circles were added.

Thursday, February 2, 2012

CHA - Pink Paislee

I was in the Pink Paislee booth at CHA looking at the new paper lines. For a soft travel look, they are coming out with London Calling. This line would work for almost any travel photos - including most of Europe.
However, the line I was excited to see was Christy Tomlinson. Christy owns Scarlet Lime on-line store and does wonderful texture-y work. I have been following her blog for awhile now. What I love about her - free style, the fact that she uses her fingers a lot! No neatly manicured nails in her videos - she is keeping it real! I am not the only one with paint and ink all over! She was demo-ing with her new line of papers and rubber stamps (made by Unity).
She made a canvas using papers, paints, mediums, stamps, etc. She was fun to watch and was great at giving people ideas on how to use and teach with her lines. Very refreshing from watching many demonstrations with designers who simple made things. Below is one of her finished canvases:
The images are from her paper line. And, below are the papers...
You can check her out here. Congratulations to Christy - what a great adventure!

Tuesday, November 15, 2011

Tuesday's Tip

I have purchased various chip board collections in the past. I think many of us have them, but do not always use all the pieces. I find there are certain favorites that I tend to use up. As much as I love the parenthesis chipboard shapes, I find them a challenge to use at times. I recently saw a fun way to incorporate these shapes into art - as photo corners. They can be painted, glittered, stamped and Washi taped! I plan to dig them out and start using them!

Thursday, October 6, 2011

Fun House

Posing a couple more of the houses I made for friends at Scramp Camp.
The above photo is of the fronts...

and the backs.

Tuesday, August 30, 2011

Tuesday's Tip

Color! It is so important in our art, be it scrapbooking, stamping, mixed media, ATC's, etc. If you are anything like me, you probably have a myriad of papers, card stocks, inks, paints etc in a variety of color. I have lists of ink pad colors, but I don't have information on all my paints and mists.  I have been thinking of organizing a color notebook for a long time (read 3-4 years!). I also tend to pull ads, magazine photos, etc for color combinations. Well, I have snuck some time away from class samples and Scramp Camp preparations and began a color notebook.

I glued the color inspiration that I have removed from magazines etc and glued them into a notebook. My next step is to catalog the paints, inks, chalks (everything but pens). I am hoping it will help me use what I have - and not buy duplicates! How do you organize your materials?

Tuesday, February 8, 2011

Tuesday's Tip

Since I have been busy with Artist Trading Cards, I have been using a variety of coloring mediums. Even with owning a variety of paints, inks, and markers, I will still have a problem finding the exact color of which I need. So, I will mix my materials. I have used chalks/pastels over inks and markers etc. I recently read in Vamp Stamp News another possible combination to try. One stamper dotted water based marker into Radiant Pearls, and blended with a small paint brush. Just be sure to clean your brush marker immediately.

What combinations of  art mediums have you used? Share them in the comments!

Sunday, January 30, 2011

I just completed this calendar project from Club Scrap's January kit, Vogue. Yes, I know January is almost over, but I needed a calendar in my kitchen. I changed the color from the recommended (white instead of black) and added my own decorations. Since my wall color is green, I decided to add some green to the edge of the book board.
The words in the upper left rectangular box are "Bon Appetit" from a Stampin' Up set. The metal letters and
tag spell out 'It's When". The best I could come up with given the limited poetry tags and alphabets. I also decorated the pages a bit. The photo below is of four of the months.                                                        
The great thing about these projects is that all the book board is pre-cut and easily assembled. The directions are (mostly) easy to follow. The painting took the longest, and that was drying time. Do you have your 2011 calendar yet? If not, this would be a cute addition to your kitchen or desk!
        

Thursday, November 4, 2010

Cards and Card Portfolio

 This was another project we made at Club Scrap's Retreat. Micheal Strong designed and taught the project using his stamps and Club Scrap card stock. The above photo is of the folio holder that opens to hold the cards and envelopes.
I started these cards during class and completed them at home. (So, I added a bit more to some of them.) The black background paper was a fun and quick to make as a master board. Using a 12 x 12 piece of black card stock, dry brush 2 colors of acrylic paint. Leave a lot of open space. Then, dry brush a metallic color. We used copper. The cream spatter was made with cream paint and a round kitchen scrub brush. Allow the master board to dry and then cut as desired.

With the Holidays coming soon, this would make a great gift. The cards could have sentiments stamped or just leave them blank.

Monday, July 26, 2010

Stamping with Paints

I have been scrapping some photos recently - for Club Scrap's PSL competition. I decided to ply with some of the (many) materials in my studio.

I love paints of all types - and I have quite a variety. For the above layout, I decided to stamp the hibiscus stamp in shimmery paints - Ph Martin's. It is difficult to see the shimmer and texture this adds to the layout.

I also decided to put some my smaller (and mostly unused) beads to use. I threaded them onto a thin gauge of wire. It is a bit tedious, but makes a fun accent.

In cardmaking or scrapbooking, pull out some of your rarely used materials for something different.

Thursday, May 27, 2010

Journal Class

It had been awhile since I played with paint and made a journal. With Kelly Kilmer (http://www.KellyKilmer.blogspot.com )up here in the Bay area teaching again, I had the opportunity to play. Many people buy pre-made journals/notebooks at the book store. It is very easy to make your own - plus you can customize the pages before sewing them into the book. This is a different look for me.
We pre-painted the pages before stitching. Some folks have trouble/freeze when encountering a blank white page (yes, I am one of those), adding color helps to make it easier to collage and write. Of course, you can also leave the pages white should you so desire. I sometimes do both. These handmade journals also make great gifts for a friend or family member who uses a journal. It would be easy to pick out decorative paper and customize. Have a teen or child who wants a diary? Again, easy to make and customize.

Tuesday, April 20, 2010

Tuesday's Tips

I am always looking for ways to improve a technique or make my crafting a bit easier. Helpful tips can also spark the imagination to do a technique or project a little differently.

In hopes of helping us all, Tuesday's will be "Tip" days. I will be posting new tips on the blog on Tuesday - and in the Tuesday's Tip box on the left side of the post. These tips will be up for a week.

Have a tip to share? Please e-mail me your tip. If I use it, I'll put together a little treat package just for you!

Today's tip: I have been using gesso in my card making recently. Did you know that you can stamp with paint/gesso - as well as using it in the techniques I have shown? Before applying paint to your stamp, ink it with Versa Mark ink first. It will make clean up much easier!