Showing posts with label Mini books. Show all posts

Monday, July 9, 2012

Travel Book

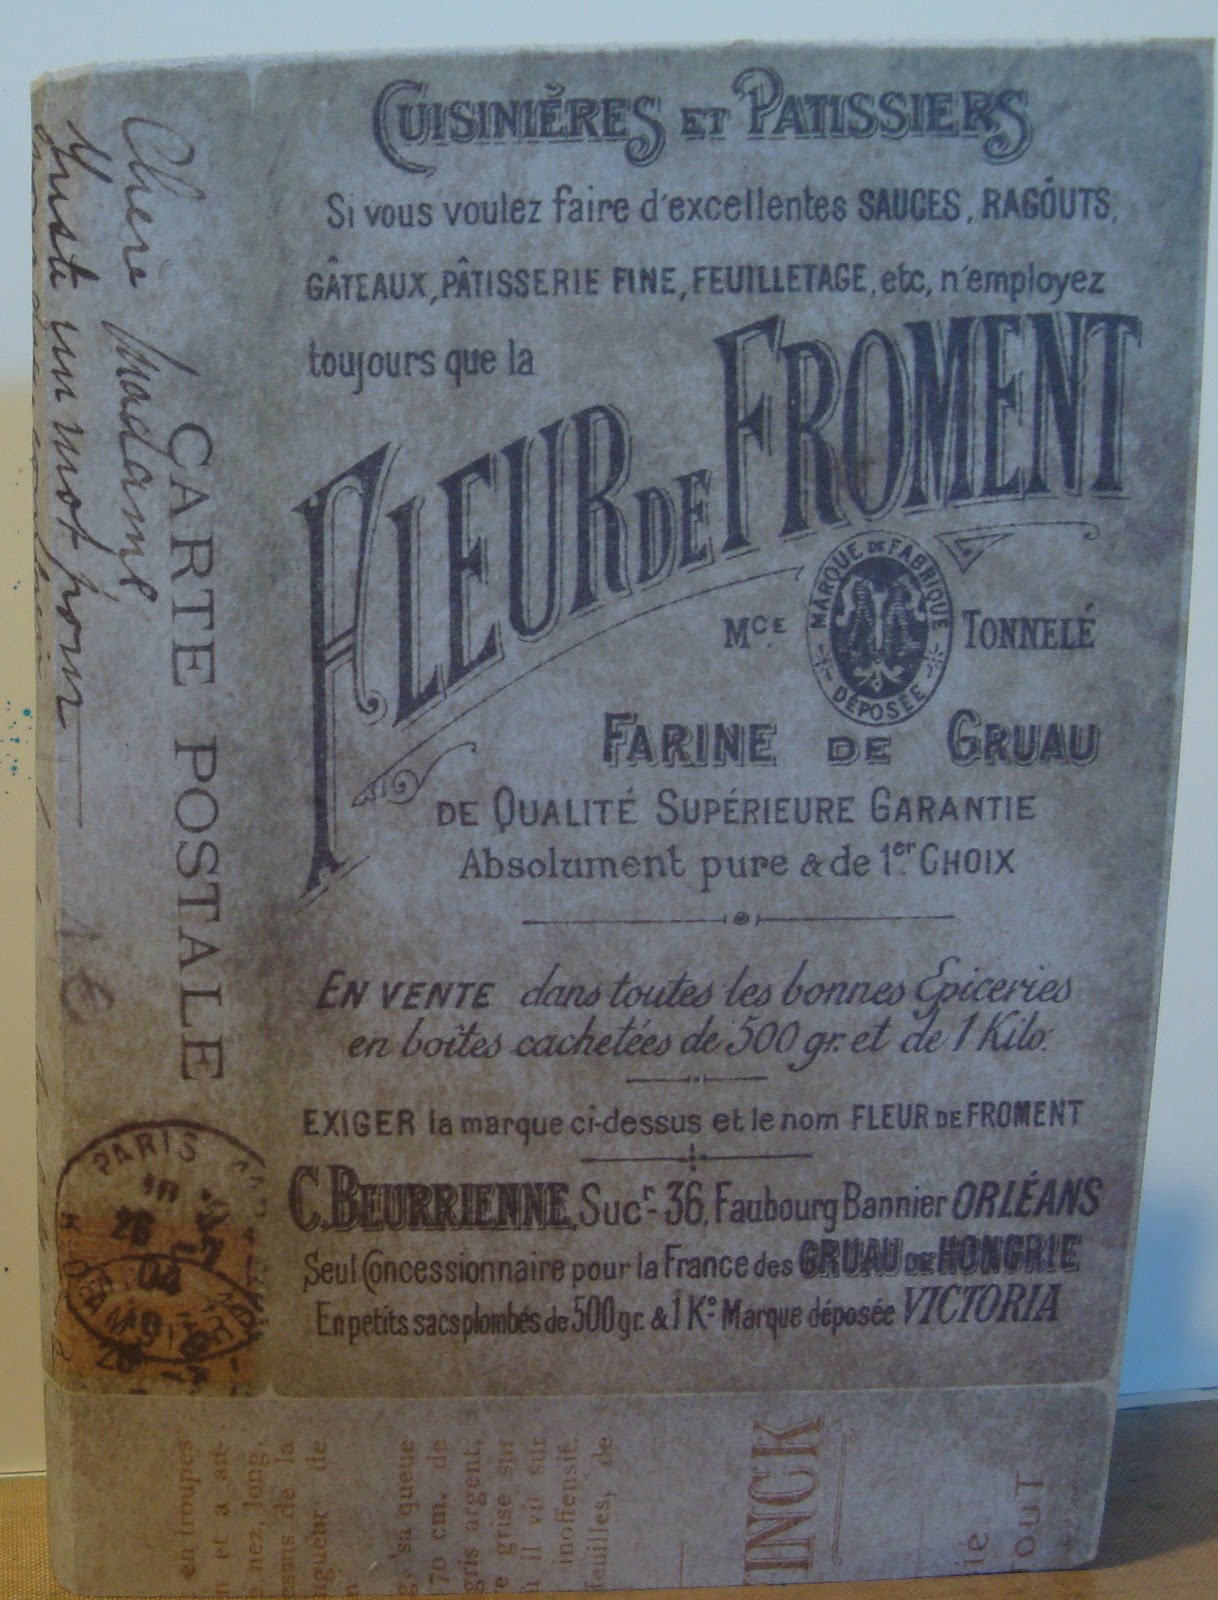
I am off on a trip to Paris. At the last minute, I decided I did not want to bring my datebook with the information on tours and times. I did want some envelopes in which to stuff small pieces of ephemera. So, late one night, I sealed some small envelopes and cut off one of the sides. I oriented them vertically and added some filler pieces of card stock. It was all put together using my trusty tape gun. I still need to fill in some information, but below is a sampling of the pages:

I did mention I put this together LATE at night! I circle punched the envelope to make filing bit and pieces easier. I used a bit of patterned paper from a Tim Holtz pad for the cover - again relying on my trusty tape gun!
I thought the French ads and script were a perfect cover. Now to make my little additions, and into my purse it will go!

Friday, June 15, 2012

Butterfly Booklet

I have had this sitting around unfinished since last October's Club Scrap Retreat. I was thinking of re-doing the envelope book and using different colors. Instead, I just decided to finish it as is (with minimal changes) and use it as a technique book for chalks.
This is the closed booklet. It is made from 5 x 7 envelopes. We used 3, but I like the look of 2 much better. Close your envelopes, then trim a little off the top to make openings. Fold the in half and glue back to front, with the opening at the top. The booklet will look like a "T". The third envelope was folded and glued at the meeting of the bottom of the "T". It folds in toward the spine area. It is awkward and does not open well, hence my preference for making it from 2 envelopes.
I left the 3rd envelope in place, but glued one side down so I had only one extra, decorated page. I put a pull out card with hand written instructions of  the chalk technique used on the butterfly below:
A finally completed project of techniques to go with my other little hand made technique books.

Friday, January 27, 2012

Mini Book Continued

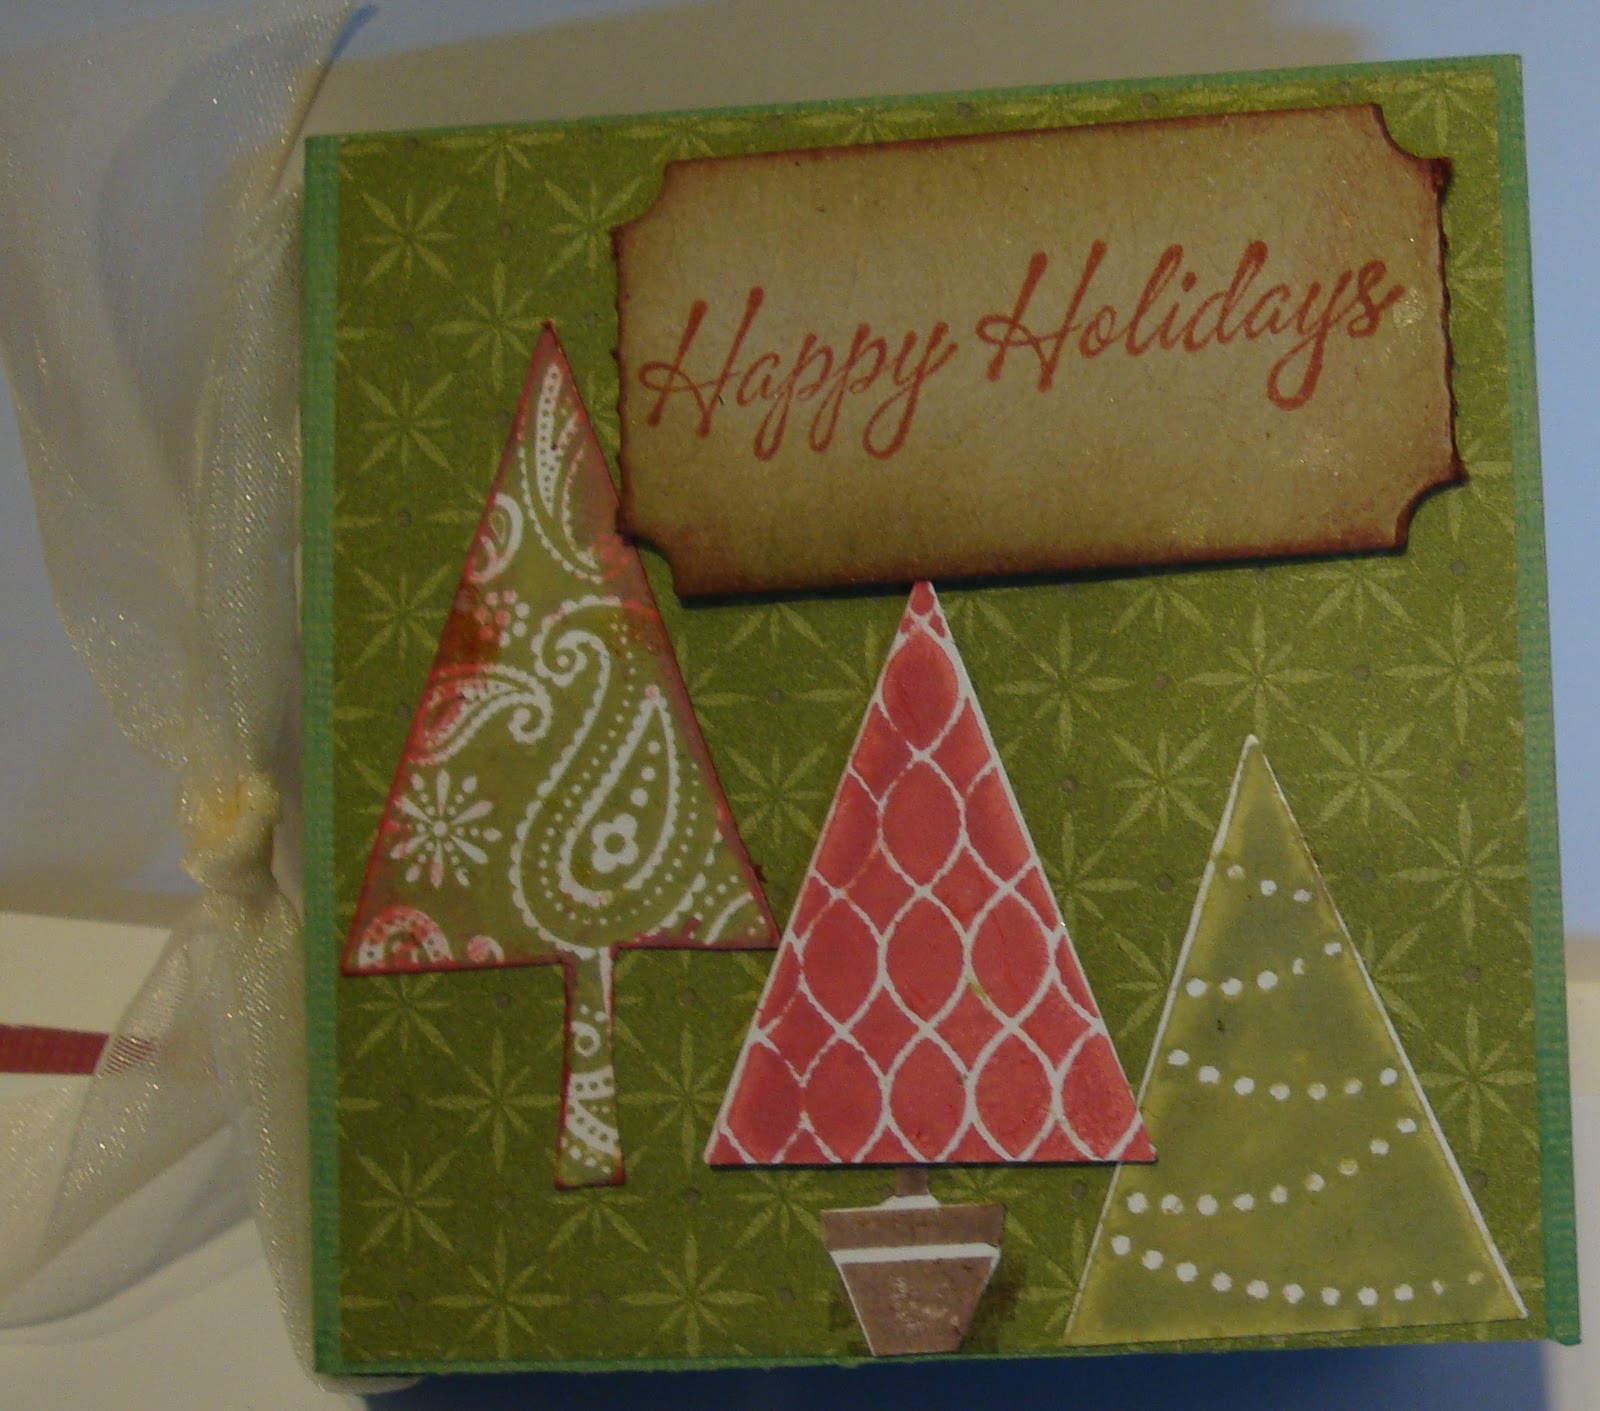
Last week, I showed a mini book made from 12 x 12 card stock. The above photo is the completed project. The patterned paper on the front is cut to 2 3/4 x 2 3/4 inches. Before adhering the patterned paper to the front and the back, I glued down a ribbon closure. I stamped the snowflake frame on white card stock, cut it out and attached it with mounting tape, giving the cover some dimension.

The inside pages can be done a couple of ways. Since I wanted to use up some scraps of patterned paper, I cut each page individually to the same dimensions as the front cover piece. In the past, I have trimmed the pattern paper to span the center fold - approximately 2 3/4 x 5 1/2. I used a tree and snowflake punch to add embellishments.

I kept the design and embellishing fairly simple on this book as it will be a gift for a friend to use (possibly as a purse brag book). I also added a few title blocks on every other page. The card stock and pattern papers are by Stampin' Up.

Thursday, January 19, 2012

!2 x 12 Book

I had previously shown a small book I made from one sheet of 12 x 12 card stock. It is super simple - first take the card stock and score it at 3 inch intervals (at 3, 6 and 9 inches). Rotate the card stock and do it again. It is a bit hard to see (although I took the photo at an angle) that the entire sheet of card stock is scored into squares. For this next step, I leave the card stock in the scorer. Take an Xacto knife and cut down at the 3 and 9 inch marks - JUST THROUGH 3 OF THE Squares. So, you will cut on the score line down 9 inches. At the 6 inch score line you will cut in the opposite direction of the other two, again just to the 9 inch mark.

Once you have made your cuts, you can remove it from the score tool. I use the Martha Stewart scorer and leave on the card stock because I find it easier to make straight cuts. You will then start at one side and make a series of accordion folds up the row. When you come to the point where the squares are joined, fold  on top of the next row and continue accordion folding.
When you have completed the folding, you will have accordion folds, and valley and mountain folds. It should look like the photo below:
You will then take the adhesive of your choice, and begin sealing the valley and mountain folds. Once those are closed, your book should look like an accordion book. You will be closing the accordion, by applying adhesive to the back side of the pages. The idea is to make a spine with the pages opening as a regular book.

As I am folding and gluing, I try to line the pages up as closely as possible and use my bone folder to smooth out the pages. In my next post, we will discuss the page decorations!

Thursday, January 12, 2012

One 12 x 12

I was reminded at a Christmas open house of a great way to make mini books from one 12 x 12 piece of card stock. I made several as gifts, all the recipient needed to do was to add her own photos. Although I made them from Christmas themed, this can be adapted to any holiday or occasion. One of the completed books is pictured below
This is the front cover - I have a ribbon wrapped around the spine. A sampling of the pages is below:
I used Stampin' Up card stock and Christmas pattern papers. I stamped, punched out, and cut out accents for each of the pages. In upcoming posts, I will share the step by step procedure.

Thursday, August 4, 2011

Mini Book a la Tim

As I have mentioned, I took a couple of classes over the weekend with Tim Holtz. The book above was made in the Sunday morning class. The covers and spine are chipboard, covered in Tim's paper and sticky back canvas (on the spine). I used Distress Ink and Stains to color the covers and spine. I used acrylic Paint Dabber to add a little gold to the metal frame and key.
The spine contains a bar and binder ring assembly. These are sold as a set and are pretty easy to attach to chip board. You can see a few of the pages - which have been distressed, painted, and/or stained.

Some of the pages were made into pocket pages using tissue tape. Quite and fun and easy little book. I plan to add more pages to it.

Thursday, January 13, 2011

Mini Book

Before heading to So California, I did get a quick project done.  After making a Club Scrap mini book project, I thought the concept would be easy to adapt to other sizes. I had a 12 Days of Christmas set stamped up and laying around, and thought why not try to make it into a book. The above photo is of one of the inside pages.  The base of the book and its pages are Club Scrap card stock. The pattern is from an older Cosmo Cricket Christmas set. The 12 Days postage is an old All Night Media stamp kit.
I used a few beads and number charms to embellish the linen thread. The chip board numbers were colored with Smooch ink. I then put a thick coat of Glossy Crackle Accents (Ranger) and smudged in some sepia paint in the cracks (it actually looks better in person - I would use this technique again!). Although I am not a 100% pleased with the outcome (I do not like the proportions and I would change up the page backgrounds) - I will display this book with my 12 Days... collection.

Thursday, December 30, 2010

Mini Books

Now that I'm feeling better, I spent a little time working on one of my many Club Scrap projects. This is the Autograph book project, a simple stitch bound book. The photo below is the closed book, front cover.

The photo below is of the open book. It is approximately ATC size and uses 4 needles to create the stitching. The pages are added side by side, not nestled as a signature. There is a video tutorial on the Club Scrap website's Inspiration tab, Cinema, under Projects. I think it would be easy to adapt to other sizes which I hope to try after the New Year's Holiday. The book would make a perfect purse sized photo album.
Or, you can use it for a mini idea book or journal to jot down notes and ideas to try.


Monday, May 24, 2010

Mini Scrapbook Part 2

This is a slightly larger version of the mini Scrapbook I posted last week. I think it would be pretty easy to vary the sizes and openings for a variety of looks.
I used some of the photos of art work from the Louvre and d'Orsay - and several Club Scrap images to fill out the book.


A view from above.

I stamped the background with a couple of images. I wanted to show you the red colored circles. They were made by inking the cap of a glue stick with red ink and stamping on the cardstock (a la Tuesday's Tip). I did not want a solid image and the cap was a great size.


Thursday, May 20, 2010

Mini Scrapbook

Want a quick and easy gift idea? This mini scrapbook is actually made from a Club Scrap pre-cut and scored kit. It is very easy and can easily be duplicated with a variety of cardstocks.
The pages are tri-fold. I alternated the orientation so that every other page folded in. The next photo will show the orientation.

The pages are pamphlet stitched to the cover. I also stamped them to add some color and texture to the pages. The spine has been beaded to add interest to the cover. The photos used in this album are wallet sized garden pictures from Paris.
I kept my embellishments to a minimum so that the book will fold flat.


This format would work well for any theme album. Grandma's brag book, school event, day at the beach are just a few suggestions.


Thursday, February 25, 2010

Mini Book Time out


Sunday night, I took a timeout from all the card making and scrapbooking to dive back into Jeanine Stein's book "re-bound". I had previously made the Hot Water Bottle book and thought I would tackle the gift card book.
I used thicker pages, so I did modify the number of pages and the the number of signatures. Before binding, I inked the white pages with blue and orange to echo the colors of the cover. I think this will be a fun little book for summer images or photos.
If you like making books, you should definitely look for "re-bound: Creating Handmade Books from Recycled Materials"!


Friday, October 30, 2009

Gesso Techniques


The last class we had at Mini Retreat was a gesso techniques class taught be Nancy. She put together a Bind-It-All book, so that we had a master reference source. I believe all the techniques came from Pat Huntoon's Technique Junkies Newletter. (You should definitely check the Newsletter out - it's like mini classes with color examples sent right to your mailbox!) I trimmed down each of my samples and placed them in the book with the page across being instructions. In the first photo, I trimmed a square of each technique to use as the book cover.
We painted gesso on cardstock and sanded, inked, brayered, and "Cuttlebug-ed" the cardstock for backgrounds. I added one technique to the back (the second photo) in which gesso is painted onto a cardstock and you stamp into it, wiggle a bit, and remove. You are basically taking the gesso off the cardstock in whatever image of your stamp.

Monday, October 19, 2009

Mini retreat Book Project


As I have mentioned, I taught a book project class last Saturday at WC's Mini Retreat. I kept the details a secret as I know a few of the ladies are not overjoyed with bookbinding projects - but this one was quite unique.
I recently purchased a book "Re-bound making books from recycled materials" written by Jeannine Stein. Really interesting book projects using items like bath mats, plastic gift cards, old wallets - to name a few. My book? This is a recycled (actually a "re-purposed" new) hot water bottle! My friends could not guess what the book was made of - and just cracked up when I pulled out the hot water bottles!
By following the cutting instructions, each hot water bottle can make 2 books. It's a fairly easy stitch, crossing on the spine to form X's. I did modify it a bit by using a ribbon closure and creating a loop in which to set a pen. I will definitely make this again - adding beads to the spine and painting the pages before binding.
Fun isn't it!

Thursday, May 21, 2009

Motivation...


I've been having some trouble motivating myself to get art done. I have a plethora of ideas - but the execution part has been difficult. Have you been there? Unfortunately, I think that the cluttered mess of my stamp room is much to blame. I've really outgrown the space that I have in there - I need to re-do the entire room and give away the sofa bed that is taking up an entire wall (could really use waist high counters with drawers/cubes etc). In a couple of weeks, my daughter will be graduating from high school - so I think that our very occasional house guests will soon cease. Then, the room will be all mine......


More projects... the above was one of the CD book projects that I received as a prize for PSL. I'm really liking these little books - so easy to make. The beadwork really stand out...and is also pretty easy. I think I should order some of these CD envelopes for future projects!

Wednesday, May 20, 2009

Projects Galore


I'm still busy trying to conquer my drawer of projects. And, of course, I have received my Cruise in a Box for Club Scrap with, what else?, more projects! Actually, we had a "Land Cruise" at my house on May 9th the work on 3 of the more difficult/tricky projects. One of those is done and the other 2 need completing! Will post as they are done!
The above photo is that of the Flip Book from the Club Scrap Sr "Cruisin". It's originally meant to be a neat little photo album - but I did not really have pictures to fit the theme and colors. I do have Club Scrap and other companies Retro themed stamps that worked quite well, including Marylin Monroe and Elvis images and some "nifty" sentiments...
I'll be taking a little break from projects to finish my GAB altered book swap theme page for May (Birds) and planning a card workshop. I'm just finalizing the techniques to be showcased in the workshop and I'll be ready to publish the date and send out an e-mail!

Monday, May 4, 2009

Projects and NSD


It's still been busy around here! Projects of various kinds have been monopolizing my time. I put together a display board for Club Scrap kits to be used at events - I used it for the Vendor night at Dartmouth Middle School. In addition to that, a group of us on the Club Scrap forum are working our way through all the unfinished projects that are sitting in drawers. Above is the wire book from the Matrix kit. I completed it at the end of April. Well...it's not completely finished as I'm not sure what will go on the pages yet!
Over this past weekend, a small group of us West Coast Scrappers were at Scrapbook U in Fremont for National Scrapbooking Day. We spent 8 hours working on projects (me) or/and scrapbooking. We were treated to lunch, dinner, snacks, and some take home goodies. And, we all made a new friend, Bonnie! Not only did she tolerate our banter, but contributed and held her own. She may even join us at the House Crop in May. It was a fun Sunday for all!

Tuesday, January 13, 2009

FFC Open House

I never did get back to writing on New Year's Day - it was just too busy. In fact, the first 10 days of 2009 have been very busy.


As mentioned, I have completed training and am a Club Scrap/Stamp Crafter - available for home parties in scrapbooking, cardmaking and bookmaking (and a few odds and ends using Club Scrap cardstock!) To kick off my new venture I decided on an Open House with food and make-n-takes. The above photo is the munchie stuff - wraps. pizza rolls, veggies, cookies and mini cheesecakes.
The 2 top photos are projects. The first is a mini scrapbook using name badge holders and Club Scrap's Private Eye kit. The ribbon binding was also from "Private Eye". (This is a great little project from Splitcoast Stampers website. The completed book fits well inside a purse as a brag book) The second is a trading card size mini book inside a die cut file folder. All cardstock and ribbon are from Club Scrap's Matrix kit.
I made a couple of sales and had one booking (thanks, Tracy!)..hopefully more will be coming...Linda?..
Now, I really need to finish some projects and get started on my "She..." tags for a swap due in February. And , I need to get hotel/apt for a trip to Paris in June (or we'll be sleeping in Le Metro station!)
If you're in the South bay and are interested in Club Scrap - post a comment and we can talk!