Thursday, September 27, 2012

Thoughts...

I have been art journaling for years. Love the free form and mixed media - especially since it's a great place for me to express my unusual taste in non "mainstream" stuff. Usually, I am a visual journaler - maybe adding a quote or a word or two. I've never been a writer or chronicler of my life.
Since July, I have been traveling to and from So. Ca. to visit my ailing mother. I am of the "sandwich" generation - squeezed between helping/supporting college age children and taking care of my mother. Things have not been going well - a meddling relative helped to convince my mom to go against our wishes, medical advice, and, quite frankly, common sense. So, she is not doing well. I have some decisions to make...
Enter art journaling. I need somewhere to write it out (so as not to continually vent to my friends -  several of whom have been great). Since, I am not one of many words, it is a unique experience. I picked a book called "Picture Frames", which I will alter and use as a journal. I cleared out some pages, glued some together for strength, and gesso-ed the first dozen or so. I think it will be a combination of my usual style and some writing. I thought I would stay with the "frame" idea - adding page or image frames on my pages. My first couple of pages:
I picked 6 spray colors to use as a palette. I like the fact that the pages are visible even after adding the gesso and sprays.
As I will be continuing to fluctuate between No and So California, my posting will be anything but consistent. Plus, I do not want to post only the tough times I am having. So, I hope you pop in occasionally to see what's going on. I'm hoping for a bit mind clearing to help my creative process.

Tuesday, September 25, 2012

Tuesday's Tip

With all the traveling to and from Southern California (I live in Northern California), it's been difficult finding creative time. Lately, that includes reading and research. While my life is still in flux, I will be suspending Tuesday's Tips until things settle down a bit - let me know if you find some new and exciting idea to share!

Monday, September 24, 2012

I had a few moments recently, and thought it would be a good time to start on the shadow box I painted a few weeks ago. I used a page of Carta Bella's All Hallow's Eve, some ephemera and a glass bottle:
I used black alcohol ink to color the bottle. Drip a couple drops into your glass and rotate the bottle for coverage. The bird cage is a 3-D acetate sticker.
This is a close up of the top slot. I have a few more things to add here - possible some pen nibs, etc.

Tuesday, September 11, 2012

Tuesday's Tip

In my quest to find some creative inspiration, I found a fun little tip involving children's art work. I had saved my kids art for many years until I hit upon the idea to photograph it. Easier to have the photographs - they take up less space - and I could scrap them projects in the school albums.
I came across a fun idea while taking an on-line class by Claudine Helmuth. You could create a collage of your children's art. Cool idea for a playroom or child's bedroom wall. Plus, you can rotate the projects. I thought it might be neat to (first photograph the complete project) cut it up and use it in your own art journals or collage.

Friday, September 7, 2012

A Bit of Washi

I had made the base of this card a while back. I love Washi tape and tend to use it a lot, particularly in art journals. When I received this floral tape from my friend Sherry, I knew it would make a fun background. So, I just cut a panel and taped away!
It was quick and easy - and I really love the shades of blue in the tape. Since tapes are the hottest product out there, you will have a variety from which to choose for backgrounds and accents! I added colored card stock (Club Scrap) and some Stampin' Up stamps and punch. I used Distress markers to color the inside of the flowers. It is difficult to see, but I used a vine embossing folder on the brown strip. Quick and easy, especially if you have pre-made bases!

Thursday, September 6, 2012

Starting to Feel it...

As some might know, I have been pretty quiet creatively. Family issues have taken a lot of my time - and a lot of my energy. I won't bore you with the details, but it has been difficult. So, I am attempting to jump start my creativity once again - perusing magazines, books, Pinterest!
Since Halloween will be approaching, and I have always loved Halloween, I thought I might do a project to get me back in the groove again. I haven't gotten very far, but it IS a start:
This is actually an old Club Scrap chipboard project that I thought I might turn into a Halloween vignette. The base is brown. with touches of black. I will probably do a bit more aging before adding paper, ephemera etc. I am starting to feel it...
Do you create under stress? Is it therapeutic to pour yourself into a project or do you become stagnant?

Tuesday, September 4, 2012

Tuesday's Tip

With all the family issues and travel, I have not had much time to create. However, I have been able to cruise around the web for ideas. I found a fun stencil/mask idea on the Paper Crafter's blog. Did you know you could use your thin dies as masks? Nestibilities dies would be great for shapes in different sizes!

Monday, August 27, 2012

Stamping Gear

After attending CHA Anaheim, I wrote a few blog posts showcasing some new products. One of the more interesting tools was the Stamping Gear from Inkadinkado. I had several inquiries as to when it would be available. You can find it here, at SimonSaysStamp. They are selling the components and specialty stamps, singly. Check out YouTube for videos demonstrations as to all the uses.

Friday, August 24, 2012

So-So

I was inspired to use my Inktense watercolor stick by a card made by my Squirelly (Art) friend, Nancy. I scribbled, painted with a water brush, die cut, and stamped. Not sure I like the results. I was not going to post, but I think it is good to show your art in different incarnations. Sometimes, things work out well and other times, not so well. We all have these experiences, even some of the captains in the industry. I remember watching a demonstration by Kevin Nakagawa (Stampscapes) - he ended up with a funky thumb print in the middle of the card. Others have tried a new color combination in a demo, and ended up being less than happy with the result. So...here is my "less than thrilling" card:

It could be better...and it could be worse! What has been your experiences?

Thursday, August 23, 2012

Picture Yourself....

...in your studio with a song running through your head! Actually, this song, "Lucy in the Sky with Diamonds" has been running through my head for a couple of weeks. When I received my journal in the swap that I am doing, it seemed like a logical page idea. I used some patterned papers as a base, laying down inks and sprays.
The trees were stamped in Distress ink. I actually used a scoop of ice cream as the tree leaves. Not sure if I like them, but I do not want to start over. The clouds are a stamp from Stampin' Up (marshmallows from a cocoa set) with Liquid Applique (remember that!?). I penned in accents using Crayola Spider Writers, Copic markers and Souffle pens.

Wednesday, August 22, 2012

A Good Find

I love book stores. I do not often get the opportunity to go into one since I own a Nook. Usually, I buy magazines and art books at the store. While on an excursion for magazines, I totally scored some fun books for collage and altering! They were on the discount area when I entered, ao I could not resist. And I could not decide, so....
I splurged and bought all three! I already have some ideas for usage....

Tuesday, August 21, 2012

Tuesday's Tip

This is a little reminder of a great tip - that I needed for myself. With all the family issues, my creative time has been limited. I have had some great ideas for cards, journal pages etc. Unfortunately, many have been lost BECAUSE I DID NOT WRITE THEM DOWN! Yeah, it was pretty stupid, especially since I usually have several notepads around the house...
Remember, you never know when inspiration and a good idea will strike. Keep a small notebook with you. Better yet, keep several in key locations (purse and bedside table for me).

Monday, August 20, 2012

Using My Stash

As much as love this paper collection, I am determined not to hoard. So, I made this cute little card using a scrap and a sticker. Add a stamped greeting - 10 minutes of less!

Friday, August 17, 2012

A Bit of Inspiration...

I was in need of a baby card - but was a bit stumped. I am having issues with my mom (in rehab, refusing physical therapy and a cousin who is a nightmare....think Jerry Springer) so I have not been feeling terrible creative. While out looking for some wrapping paper, I found this tissue paper in the same colors as the outfit I bought.
I love the color combination of pink and grey! So, I pulled out an embossing folder,ink pads,  some stamps and punches:
I was very pleased with the clean and simple look of the card. From what items have  you drawn inspiration lately?

Thursday, August 16, 2012

Squirrely Challenge Part 2

I had another idea for the Squirrely Challenge. I originally thought I would use darker, more masculine colors, but just went with the flow:
The pearl was white, but I colored it with a Copic marker. The background was colored with Distress Inks. The stamp is from Club Scrap.

Wednesday, August 15, 2012

Squirrely Challenge

The Squirrely Challenge is from the current edition of Technique Junkies Newsletter. It is called the "embossed puzzle" - dry emboss a card stock panel, cut and ink. For more information, check out TechniqueJunkies.com. For links to additional Squirrely Challenge girls, visit Nancy's blog at Squirrely Art. My contribution:

I inked the embossed pieces with a variety of Distress Inks. The telephone was colored with Distress Marker (yellow) and a Cut and Dry Nib inked with Distress Raspberry ink.  Stamps used are from Printworks and SimonSaysStamp.

Tuesday, August 14, 2012

Tuesday's Tip

Banners are very popular at present. They can be a variety of sizes - from large decor items to smaller card sized embellishments. Banners can be made from paper, card, stock, chipboard, etc. For a fun metallic steampunk type of banner, use paper clips. They can be colored with alcohol inks - lending a fun (primary colors) to vintage (subdued colors) embellishment.

Thursday, August 9, 2012

No Place Like Home

It has been a tad busy here over the past 2 weeks. My daughter was in town for a brief visit and I am dealing long distance with an elderly mother going downhill (mostly mentally, but physically as well). So, I really needed to get caught up on my journal exchange pages.
This was a definitely go with the flow type of spread. I started by spraying Dylusions Sprays in a yellow and green. Then, I just randomly stamped various leaves and backgrounds - I think I considering something floral. The previous 2 pages were my "Green"/wicked witch scene and Kate followed up with an "over the rainbow" scene.  I decided to continue the Oz theme a bit - stamping,coloring and cutting out the images. I glittered the wings and various areas of the background. I added glitter to the background subtly - placing drops on my finder and smearing it around.
Thought a close up might show the glitter better - you can see some on her wings. All fairy stamps are from Tim Holtz/Stampers Anonymous, background stamps are Stampin' Up, house is from Club Scrap, and saying is from Graphic 45/Hampton (I think it's Hampton Arts).

Tuesday, August 7, 2012

Tuesday's Tip

Lately, I have been all about variety. I have mixed in pattern papers again - as well as doilies and other fun goodies from back when I started card making. I am attempting to do the same with my journals - adding more paints and media to pages. A couple of fun additions to try - envelopes and    
and old greeting cards. I have few cards saved and I thought I might "tip" them into established journals. Tipping in pages is fairly common - way back when, we would construct entire books from these pages. Simply attach a tip-in to an existing page - or trim down a page to an inch or so strip and attach to that.

Monday, August 6, 2012

A Little Inspiration

While touring the neighborhoods of Paris, I noticed some interesting murals and bits of graffiti. This was a striking mural on the side of a building in the Marais neighborhood - a bookstore was housed in the bottom floor. The top two scenes are from Don Quixote...
There were several of these paper images around the city - most were half torn off...
This little guy is actually the "mascot" of a famous Mont Martre restaurant Lapin Agile. I love his expression....

Friday, August 3, 2012

The Mess on my Desk


I had a  mess of scraps on my desk (bet you thought I would be posting a photo of that mess!) - what to do....I usually save the larger pieces or punch usable shapes and save in a baggie. Instead, I decided to challenge myself to create something from the scraps. So, the above ATC was born. The only "non-desk" items were the sentiment stamp and the pearls. Challenge yourself and try to come up with art from the mess on your desk (come on - you know you probably have a little bit of a mess!)

Thursday, August 2, 2012

Under the Sea

I was running behind in my art journal exchange with my friend, Kate. I have been attempting to have a vision of a completed page, but it has not really been working. So, I am going with the flow!
This page started with a variety of spray mists - Dylusions (LOVE these), Perfect Pearls Mists, and Glimmer Mists. After each layere dried, I attempted more spraying over stencils - circles and trees. When all was dry, it seemed to me that I was working toward a water scene! For the little mermaids on the left, I stamped small fish and added the tails to Art Chix mini gals. The depth and shimmer of the pages does not really show in the photo.
Do you plan out your pages or go with the flow?

Wednesday, August 1, 2012

Crop Weekend Recovery

I had been attempting to get back my creative mojo after vacation. I played a bit here and there, but was pretty unproductive. Then comes "Scrap Diva" weekend - a Friday through Saturday opportunity to have fairly uninterrupted creative time. My friend, Nancy (Squirrely Art) and I decided to go. It was wonderful to just sit (walk around occasionally) and play. I took a variety of projects so as not to get bored.
I started with some pre-made Club Scrap layouts, adding photos (the embellishments will wait until I am home with all my stamps etc). Then came out the Simon Says Stamp card kits:
There are about half a dozen more that were in another box. Not all of these are completed, but I have some great starts to build upon.
I really like these type of weekends - for more than just the opportunity to complete projects. It is always interesting to meet fellow crafters and discuss different styles, companies, kits, products etc. I finally received the little kick I needed to actually take the Gypsy I purchased (over a year ago...) and load up my cartridges (Thanks, Debbie!). So, you never know when and who will provide inspiration. What have been some of your experiences at weekend crops?

Tuesday, July 31, 2012

Tuesday's Tips

There are all types of tools on the market to use when sponging backgrounds. Ranger sells several tool options - you can even use an alligator clip to hold make up sponges. The best tip I have read for a do-it-yourself sponging tool was recently posted on ATT Yahoo group. Use a small diameter PVC pipe (the type you can get at Lowe's, Home Depot, etc) and stuff a make- up sponge into the center. You can have them cut to size and it would be cheap to have one for each ink pad or color family!

Friday, July 27, 2012

Squirrely Challenge

It is Squirrely Challenge time! Nancy posted the "Spritz Distress" technique from the current edition of the Technique Junkies Newsletter. I have been on a green kick - so I used 3 different shades of green Distress Ink, a leaf stencil and a "spritz" of water:
Card stock is from Club Scrap. Stamps are from Stampin' Up and Silver Crow. Sans Souci roughly translates into without cares/worries. To see what the other "squirrel girls" are doing, us this link.

Wednesday, July 25, 2012

Oscar WIlde

While in Paris, I finally visited Pere Lachaise cemetery. One of its more famous occupants is Oscar Wilde. There is a tradition, particularly among gays and lesbians, to leave a lipsticked kiss on the tomb. Since the constant cleaning was expensive, and taking its toll of the monument, the tomb is enclosed in plexiglass. Among the lip prints, there are flowers, cards and artwork..what better place to abandon art....

Monday, July 23, 2012

Best Laid Plans...

It has been longer than I had planned as far as blog posting. I had hoped to add some fun posts while I was in Paris...but it did not quite happen.
We left early on July 5th to go to Paris for my 50th birthday. It has always been on my "to do" list to be there on July 14 since my birthday also happens to be Bastille Day (aka French Independence Day). So, it worked well for this milestone birthday. Unfortunately, my Ipad was not cooperating (and my husband had a difficult time sharing the wi-fi connection...) so I had been silent. We returned on July 15th - with plans to start getting back in the swing of art (lots of ideas) and posting. But, I am of the "sandwich generation" - kept busy with my kids (both are in college, but...) and an aging (and increasingly infirm) mother. I had to drive to Southern California to discuss some medical issues with my mother and the facility in which she is rehabilitating. So, I am home now and (getting) back to a normal routine.
So a couple of photos I had planned on posting...
Giverny - Monet's house, taken from the front garden path;
Monet's Japanese water garden - home of the famous lilies. I thought that this would be a perfect location to abandon some art:
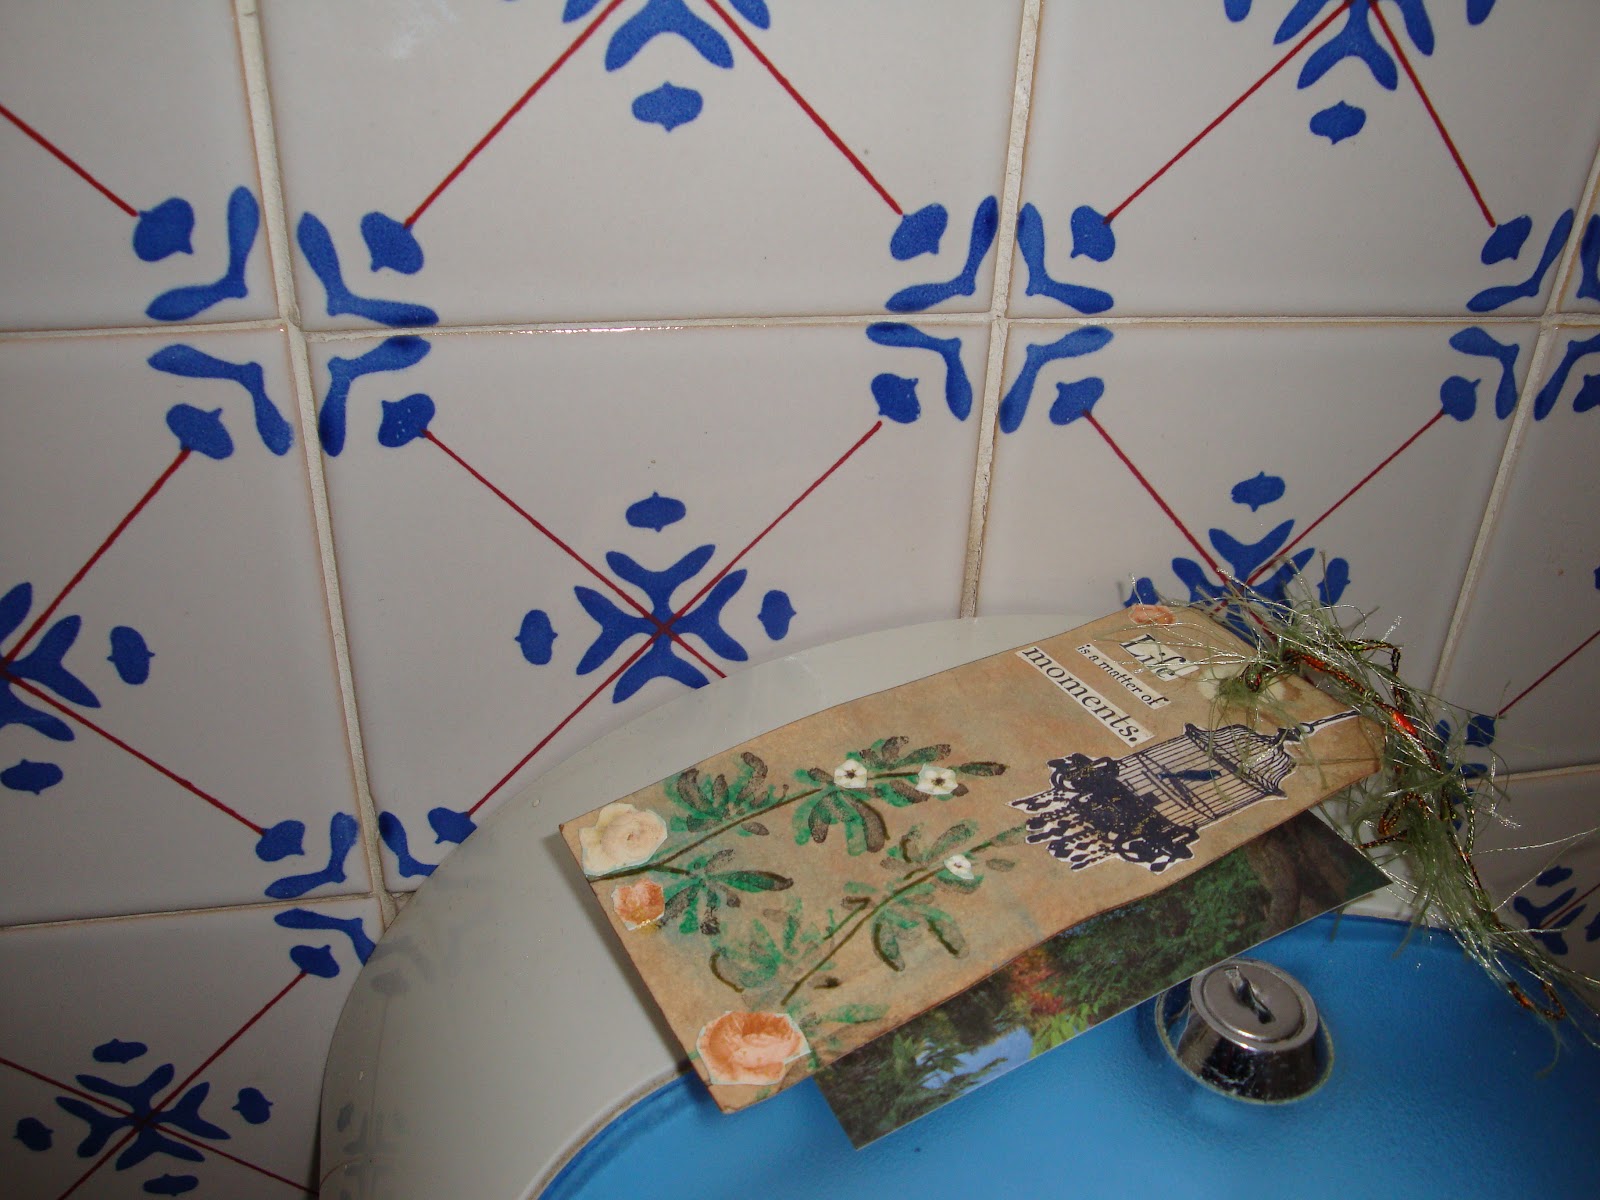
Because of the frequency of the rain we had (everyday but one), I decided to abandon my tag in the ladies room.
As I am in the process of getting back to creating, you will be seeing a few photos this week! I will have some Squirrely Art and other challenge results to be posted soon! A bientot!

Tuesday, July 17, 2012

Tuesday's Tip

Here in California, July 1st ushered in a variety of new laws. Some centered around the environment and recycling. I am all for doing my part. Some of my favorite items to recycle are; mini plastic trays from Green Giant's Just for One veggies, Jello and Pudding containers, and frozen dinner trays. All can be used for paints and water, as well as glitter trays. Look around, I be you all have your own ideas and favorites!

Friday, July 13, 2012

Flipping pages...

As I mentioned previously, I have been working in my "flippy" art journal with a French theme. Below are examples of how the pages "flip out" horizontally:

You can see how the page unfolds. I plan on bringing home some fun ephemera to use to finish the pages of this book!

Thursday, July 12, 2012

French Journal

Thought I would share a page from a journal I made in a Kelly Kilmer class. We called it the "flippy book" since the pages folded out, up and down. As I was collaging the first page, it became apparent the theme of the book was French:
I used a variety of patterned papers and Washi tapes with my images. Watercolor wash was added to unify.

Tuesday, July 10, 2012

Tuesday's Tip

While you are reading this, I am most likely wandering Monet's garden or the streets of Paris. With vacation time upon us, there are many items you can save and use in your art. One of my planned stops is an antique book store for collage fodder. Remember, you can save and use maps, ticket stubs, business cards of locations visited, wrappers, etc. Not only are you recycling, but you will have some unique fodder for creating!

Monday, July 9, 2012

Travel Book

I am off on a trip to Paris. At the last minute, I decided I did not want to bring my datebook with the information on tours and times. I did want some envelopes in which to stuff small pieces of ephemera. So, late one night, I sealed some small envelopes and cut off one of the sides. I oriented them vertically and added some filler pieces of card stock. It was all put together using my trusty tape gun. I still need to fill in some information, but below is a sampling of the pages:

I did mention I put this together LATE at night! I circle punched the envelope to make filing bit and pieces easier. I used a bit of patterned paper from a Tim Holtz pad for the cover - again relying on my trusty tape gun!
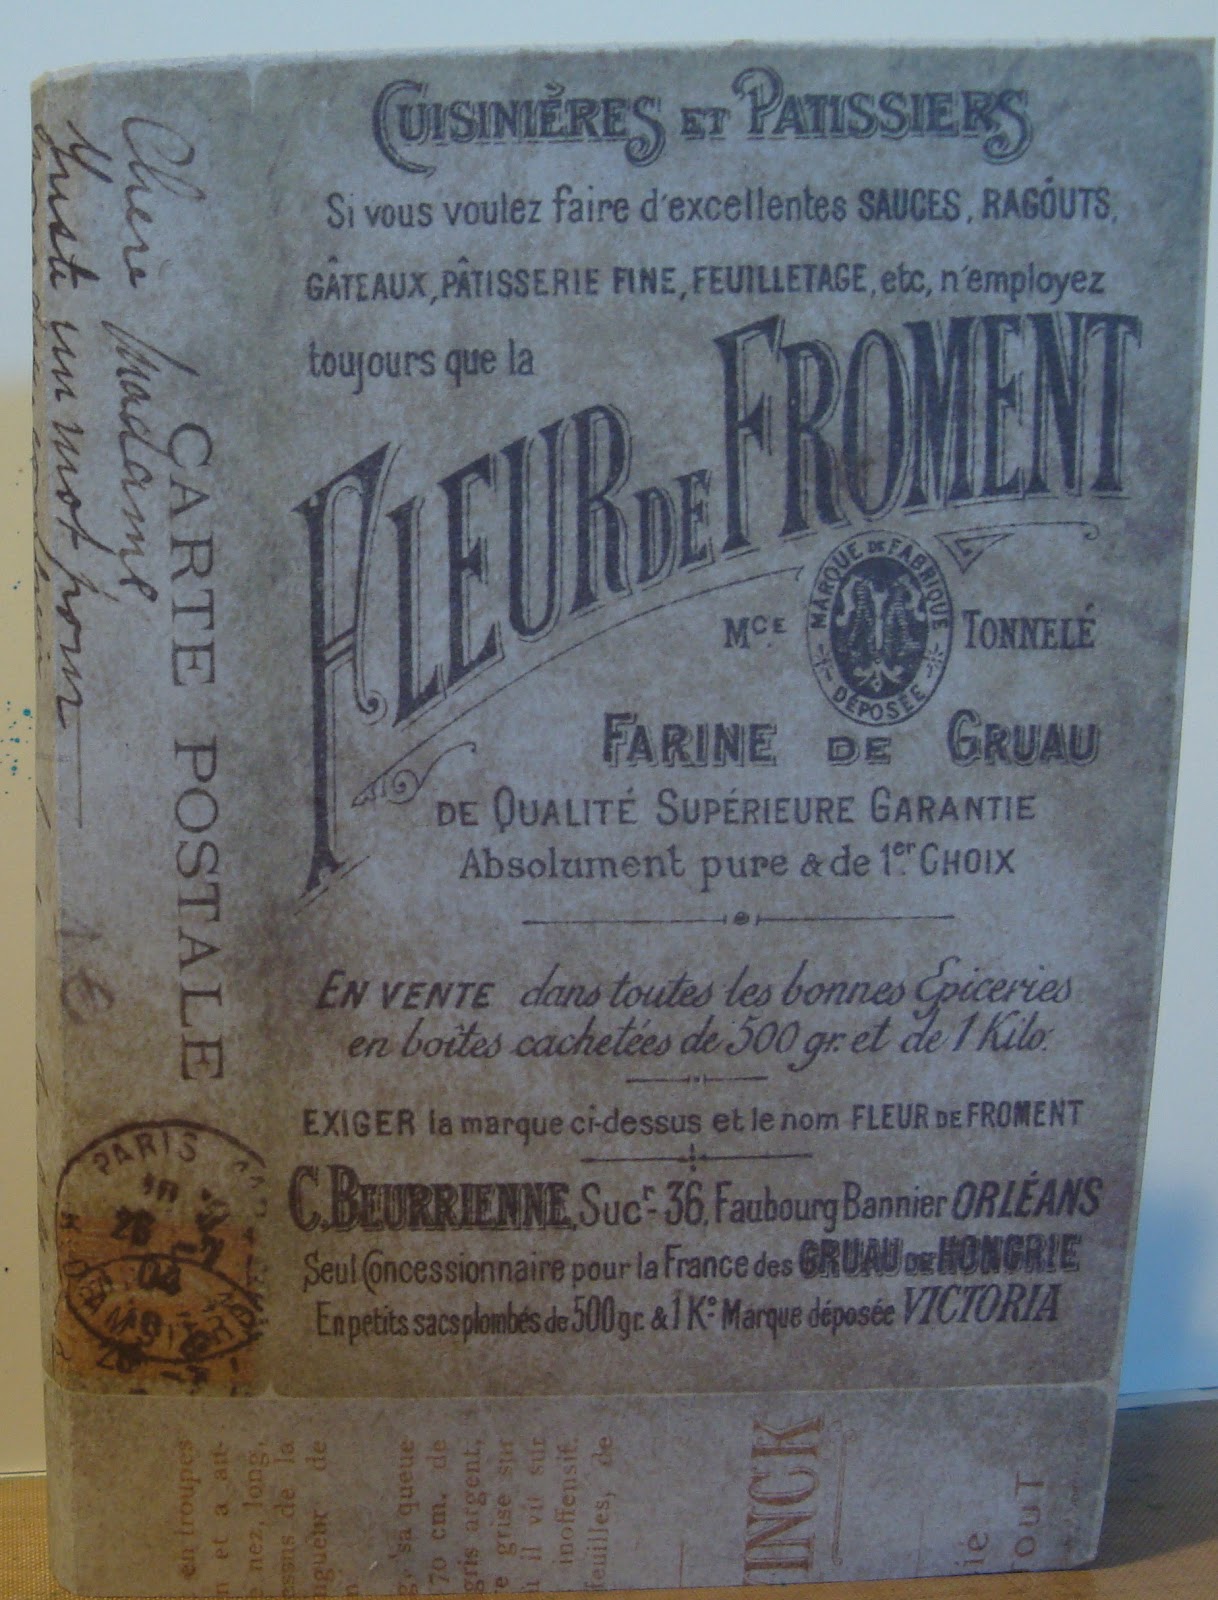
I thought the French ads and script were a perfect cover. Now to make my little additions, and into my purse it will go!

Friday, July 6, 2012

Stencil with Gel Medium

Yes, it was tag week for me! I tried another technique that came from May Flaum. I took my trusty tag and a Tattered Angels stencil and slopped on some of this gel medium.

As you can see, I was very liberal with the application. I carefully lifted the stencil (technically, this is a mask) and left it to dry for a day. I sprayed some Dylusions Mist and let it dry further. I was thinking of using the result as a tree, complete with some birds and blooms. However, the vibrancy of the Dylusions color had me re-think. I thought it looked more like ocean coral (without the orange color). So, the final result was this:
This is actually a pretty interesting technique. I plan on trying it with a few other mediums that I own.

Thursday, July 5, 2012

Metal background

As a little tag project for Camp Scrap, I decided to try Ranger's Sticky-back Foil. I cut the square of foil into pieces, some large and some not so large. I pulled off the backing and stuck the foil, piece by piece, all over the tag. I over lapped some parts, and used the entire square.  An embossing stylus was used to draw stitch marks, doodles and circles into the foil. Then, out came the alcohol inks! Below is the tag to this point:
From there, I stamped a variety of images (Artistic Outpost) and cut them out. The bicycle is from   Graphic 45's Steampunk Debutante. I added a few gears, a token and some trim. Tag complete!

Tuesday, July 3, 2012

Tuesday's Tip

Since last Tuesday's Tip discussed art journaling, I thought I would pass on another idea to get you started! Remember, since the journal is YOURS, you can do whatever floats your boat (so to speak). If starting on the first page is too intimidating, by all means pick another place to start. The middle works well for some. Enjoy and get creative!

Monday, July 2, 2012

So, I am almost done with the using the lovely London Market collection from Pink Paislee (and my Simon Says Stamp kit). It made me be a bit sad - so I did order additional 12 x 12 papers (blush!) I loved the collage feel of one of the patterns. I thought it would be fun to add to the collage with stamps and a bit of color:
I stamped the frame (Stampin' Up) and cut it out. I also cut out the inside so that the pattern of the paper could show through. I added a bit of color with the flowers and bird. Do not be afraid to add to a background paper - especially one with an understated design. A fun addition, the border is actually from a different patterned paper. I just cut off the edge!
If you are new to collage, this is an excellent way to get started -  just add a few elements to a collage paper.

Friday, June 29, 2012

Abandoned!

I abandoned one of my tags today - finally remembered to bring them with me! It was at my hairdressers, in the restroom:
We shall see who finds it and if they contact the Facebook group!

Thursday, June 28, 2012

Star Bursts and Layers

These are two things that are new for me. I used the star bursts on a Graduation layout class, but I have not used it in one of my layouts. This one page layout is based on a sketch/technique from May Flaum's Camp Scrap:
I used a bit of layering - card stock, Washi tape, and a "Howdy" banner.  The stars and circles are my burst of embellishments. The patterned paper is from My Mind's Eye - it was fun to use patterned paper as the basis of the page! Stamps are from Club Scrap. I used Aged Mahogany Distress Stain on the Grunge board letters. To highlight them a bit, I edged them in black. (If you read regularly, you know I edge everything!)

Wednesday, June 27, 2012

ATC Abandonment

I mentioned the Art Abandonment movement in Monday's post. Of course, after completing my tags, adding my information on the back, I forgot to bring them with me yesterday on my errands!  So, today I am much better prepared! I did finish the ATCs I had been making. As a plus, I used a stamp set I bought months ago that was, ahem, never used! (I am thinking I may not be the only one who has new/unused stamps...anyone?)

For these, I painted over book pages and patterned paper, and stamped the image from Artistic Outpost. I added a bit of color using Faber Castell india ink markers. I am thinking of taking these   with me (or at least putting them in a baggy in my purse) on my errands the next few days!

Tuesday, June 26, 2012

Tuesday's Tip

One of the art activities I really enjoy involves art journals and mixed media. I am often asked how one starts a journal. I remember having this discussion many years ago with Tracy Moore. You just start. (He gave me this same advice)  I am not a writer or diarist. I use my journals for visual art. A great way to start is to use it for practice - lettering, stamping, inking. Ink up and stamp new stamps onto a page. You can try ideas in your book rather than on a scrap paper. It is a great starting point and you never know where it can take you. Worst case scenario - gesso over everything and start again! Just start...

Monday, June 25, 2012

Tags and Art Abandonment

How funny that an idea that has been around for a while has suddenly become a hot topic. I have always heard of "Guerilla Art" - in which you make a random piece of art and leave it for someone to find. I have even discussed this idea with friends. Well, it took Michael De Meng to rally us all to action! 
On Saturday, I was at a crop with May Flaum, as part of her Camp Scrap on-line class. I brought some tags and ATCs to work on - as in transform into art to abandon. The four tags I made look like this:
I originally thought I would take these to Paris. I may still take a couple and make some thing else. I have a lot of appointments this week, so I will be bringing my art with me. If you are interested, there is a Facebook group :www.Facebook.com/groups/ArtAbandonment. Come by and read some of the commentary (open to all) - you may be tempted to join us!

Friday, June 22, 2012

One Stamp Three Ways

At Camp Scrap last week, May Flaum posted three cards using one stamp, each were slightly different. So, I decided to use some new Lawn Fawn stamps and give the technique a try. First up:
I stamped the bike and cut it out, mounting it to the chevron stamped panel (pretty neat set of stamps, those chevrons...). I added some small cloth flowers to the basket. The second card:
I embossed the bike using the Champagne Versa Mark pad and clear embossing powder on a white panel. I stamped flowers in the basket and applied Flower Soft. I matted the panel onto several players of card stock and patterned paper (Pink Paislee's London Market). The last card:
I stamped the bike in black and over stamped slightly in Stormy Sky Distress. I stamped, cut out and popped up the pinwheel. I used the bike stamp - actually just the wheel portion as a background on the main base of the card.  Patterned paper is from Authentique.
Now, it's your turn!

Thursday, June 21, 2012

Squirrely Challenge

The technique for this Squirrely challenge is in the current Technique Junkies Newsletter. It is the Tag Fence technique:
I ran white card stock through my Sizzix, using the tree bark embossing folder by Tim Holtz/Sizzix. Stampin' Up's tag punch was used to punch the tags. I stamped the floral branches and cut them out, mounting them on the outside of the fence. I love the background paper - actually the whole pad of paper! It is from Basic Gray "What's Up". To see Nancy's version for this challenge, go here.  Have fun trying this for yourself!

Wednesday, June 20, 2012

Watercolor Mailer

As I mentioned during my "spray paint period", I have been following Maryjo Mcgraw's "secret blog". The next project was a watercolor mailer. I did not have the exact same size of watercolor paper, but was able to make this smaller size work. I thought I would go with a theme when picking colors and stamps. Below is the front side:
I was impatient for the colors to dry - so they mixed a bit more than Maryjo's example. I used Distress markers and the brush less watercolor technique to add the images.
This is the back side of the mailer:
As you can see - land and sea was the theme! Images were stamped using the same technique as the front side. Stamps from Stampin' Up, Club Scrap, Artistic Outpost, Memory Box, and Printworks.

Tuesday, June 19, 2012

Tuesday's Tip

I recently read a fun idea - money saving as well! You can make your own glue dots (any size or shape) by dropping dots of Aleene's Tack-it Over onto wax paper. Let them dry clear and you are set to use!

Monday, June 18, 2012

Merci

I bought the Simon Says Stamp June card kit - love it! The pattern papers are from a line I just love - London Market by Pink Paislee. I thought this would make a fun thank you card for friends. I also was able to use some of my most recent die purchases. The circles and scallops are from Lifestyle Crafts. But, my favorite was a local find from the "Memories Live On" scrapbook store - an Eiffel Tower die!
The white flower is part of a Stampin' Up doily die that I cut apart.  The little doily stamped around the top and bottom edges is from a Prima set - and stamped in Distress Spun Sugar and Iced Spruce. The stamp is a very old unmounted - not sure where it came from! Mint ribbon from my stash is behind the dies and banner.

Friday, June 15, 2012

Butterfly Booklet

I have had this sitting around unfinished since last October's Club Scrap Retreat. I was thinking of re-doing the envelope book and using different colors. Instead, I just decided to finish it as is (with minimal changes) and use it as a technique book for chalks.
This is the closed booklet. It is made from 5 x 7 envelopes. We used 3, but I like the look of 2 much better. Close your envelopes, then trim a little off the top to make openings. Fold the in half and glue back to front, with the opening at the top. The booklet will look like a "T". The third envelope was folded and glued at the meeting of the bottom of the "T". It folds in toward the spine area. It is awkward and does not open well, hence my preference for making it from 2 envelopes.
I left the 3rd envelope in place, but glued one side down so I had only one extra, decorated page. I put a pull out card with hand written instructions of  the chalk technique used on the butterfly below:
A finally completed project of techniques to go with my other little hand made technique books.